This year's ornament has been in my head since last year. I had a bunch of poster tubes that I've

Here are the supplies I used: poster tube caps, transparency sheets, foam stickers, ribbon, washi tape, hot glue, and sequins (all of which I had in my stash o' stuff)
Use the stickers to make a scene on the inside of the poster tube cap, then add your sequins, glitter, or beads. This is the easy and fun part. My kids loved sticking the stickers and picking just the right ones for their friends.
This is the tricky part. I had a thin rim on the tube cap that I had to run a bead of hot glue along. This is NOT the part to have the kids do. Once you've got your glue move quickly to add a square of transparency film over top of the cap. Use a book to hold the film down so it is flat. You will want to make sure you get glue around the whole edge so when you add the transparency film it will seal the sequins and loose pieces in. The glue doesn't have to look perfect you will cover the glue with the washi tape.
I flipped over the cap and used my scissors to trim away the extra transparency film. Note make sure your glue is cooled before you flip it over or shake it, if you don't your sequins will stick to the edge.
Next up wrapping the edge with a strip of washi tape. The washi tape that I used was a bit thicker and tackier than another roll that I had tried. This kind stuck really well. I covered about half way on the side then folded it over. The tape makes a nice little frame for your shaker.
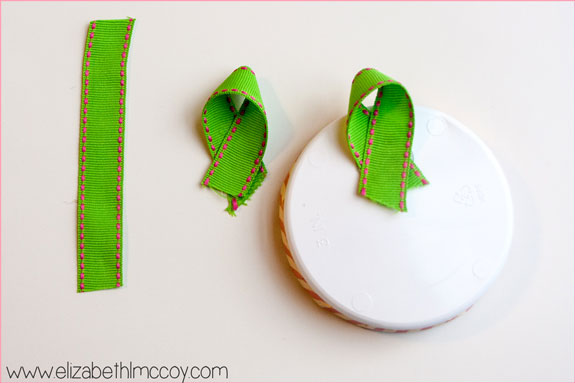
Last step is to add a hanger on the back. I used ribbon folded over and glued onto the back. Pretty simple and easy.
I'm so excited to send these off to our friends and family who are swapping with us this year. What do you think will they like them?


